Static OG (Open Graph) Images in Astro
A guide to set up build-time Open Graph images in Astro using Satori, sharp and Astro endpoints. · Frankfurt, GermanyHave you every shared a link to a friend and wondered where the image preview
came from?
That’s the Open Graph Protocol, a set of HTML <meta>
extensions that can enrich a link, originally invented at Facebook.
This blog post describes how you can generate these images on build time in
the Astro web framework.
Most of the guides out there (including Vercel’s official OG Image Generation) use a function to generate the OG image dynamically. While there’s nothing wrong with that, I really wanted mine to be statically generated on build-time; it’s faster, cheaper and cooler.
Build your image
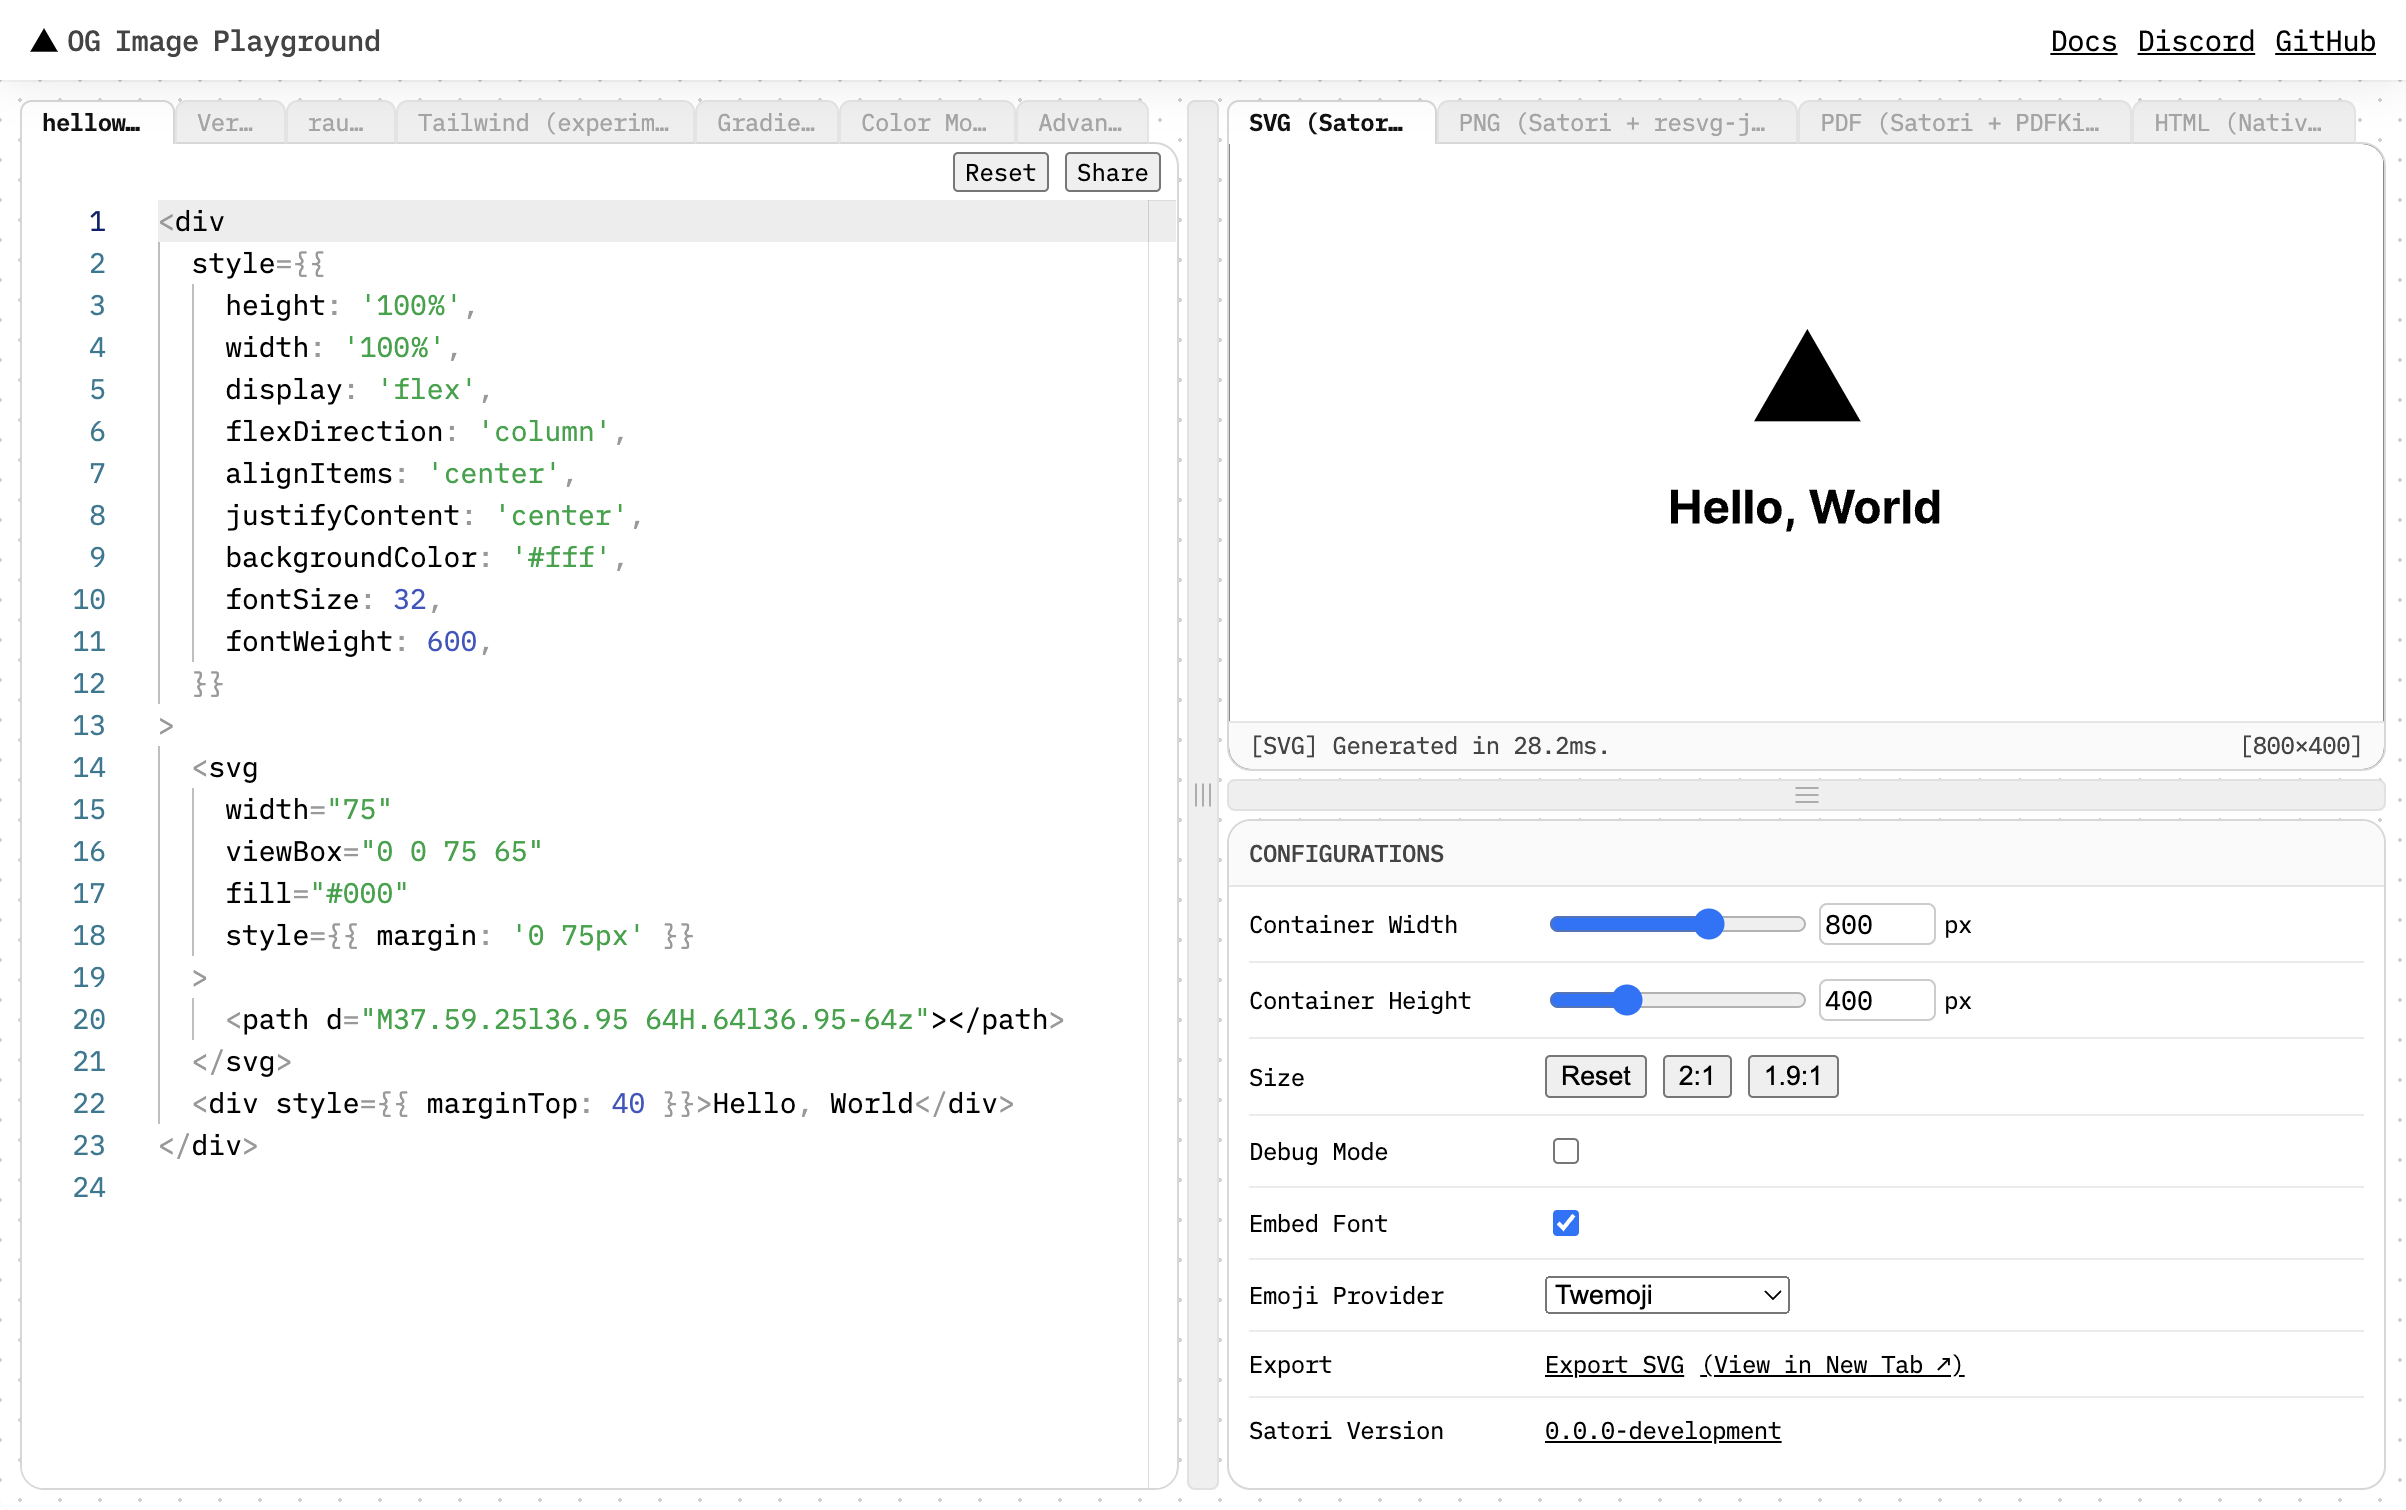
The first thing to do is figure out what your OG image should look like. We’re going to use Vercel’s Satori, a JavaScript library which can render a HTML tree as SVG. Vercel also has a great OG Image Playground, where you can play around and quickly get results.

Set the size to 1200×630px as that’s what Facebook recommends in their guidelines. Use Flexbox liberally and enable debug mode when figuring out the layout. A Complete Guide to Flexbox is a great resource to have at hand.
Create an Astro endpoint
Got a nice image built in the playground? Then let’s get started. Install Satori to generate the SVG and sharp to then convert it to PNG:
Then create an endpoint, e.g. pages/og-image.png.ts with the following code:
import fs from "fs/promises";
import satori from "satori";
import sharp from "sharp";
import type { APIRoute } from "astro";

export const get: APIRoute = async function get({ params, request }) {
  const robotoData = await fs.readFile(
    "./public/fonts/roboto/Roboto-Regular.ttf"
  );

  const svg = await satori(
    {
      type: "h1",
      props: {
        children: "Hello world",
        style: {
          fontWeight: "bold",
        },
      },
    },
    {
      width: 1200,
      height: 630,
      fonts: [
        {
          name: "Roboto",
          data: robotoData,
          weight: "normal",
          style: "normal",
        },
      ],
    }
  );

  const png = await sharp(Buffer.from(svg)).png().toBuffer();

  return new Response(png, {
    headers: {
      "Content-Type": "image/png",
    },
  });
};
One drawback that you can already see in the code above is that Astro does not support TSX endpoints, so we’ll need to use React-elements-like objects.
You’ll also always need to provide a font because it’ll be embedded. I used Roboto in the example above, Inter or Open Sans are other solid free sans fonts (choose WOFF or TTF/OTF, WOFF2 is not supported).
Run astro dev and navigate to the endpoint (in our example :3000/og-image.png)
to see the generated image.
Generate for each item in a collection
Once you have an image that you like in a function, you can create them in
batch, for whole collections.
Let’s assume you have a blog collection and your blog posts live at pages/blog/:slug/index.astro.
Create a pages/blog/:slug/og-image.png.ts with your API route and the getStaticPaths function exported:
import { getCollection, getEntryBySlug } from "astro:content";

export async function getStaticPaths() {
  const posts = await getCollection("blog");
  return posts.map((post) => ({
    params: { slug: post.slug },
    props: post,
  }));
}

export const get: APIRoute = async function get({ params, request }) {
  // ...
};
If you now run astro build, you’ll see that it statically generates an OG image for every blog post you have on your site.
Handling images
Images (like fonts) need to be embedded into the SVG. The easiest way I found is using data urls by first reading the file to a Base64 string like this:
const myImageBase64 = (await fs.readFile("./public/my-image.png")).toString(
  "base64"
);
And then setting it as the backgroundImage or src property in Satori:
{
  type: "div",
  props: {
    style: {
      backgroundImage: `url('data:image/png;base64,${myImageBase64}')`,
    }
  }
}
Be aware that Satori does not support backgroundSize: cover, so if you have
that use case, you’ll need to build it yourself with image-size and some math.
Set OG tags in HTML
Now the only thing left to do is link to your OG images in your <head>.
There are two properties you’ll want to use for images: og:image and
twitter:image.
Use dynamic paths on collections to automatically use the correct image. Check out the Open Graph protocol for more Open Graph meta extensions.
Further links & conclusion
If you want to see real, working code (I know I often do), check out the endpoint
that powers the OG images of my book reviews:
pages/books/[...slug]/og-image.png.ts.
This is what it looks like: OG image of a book review.
Did I miss anything? Can this workflow be further improved? Drop me an email or @ me in the Fediverse, I’d love to hear from you.